

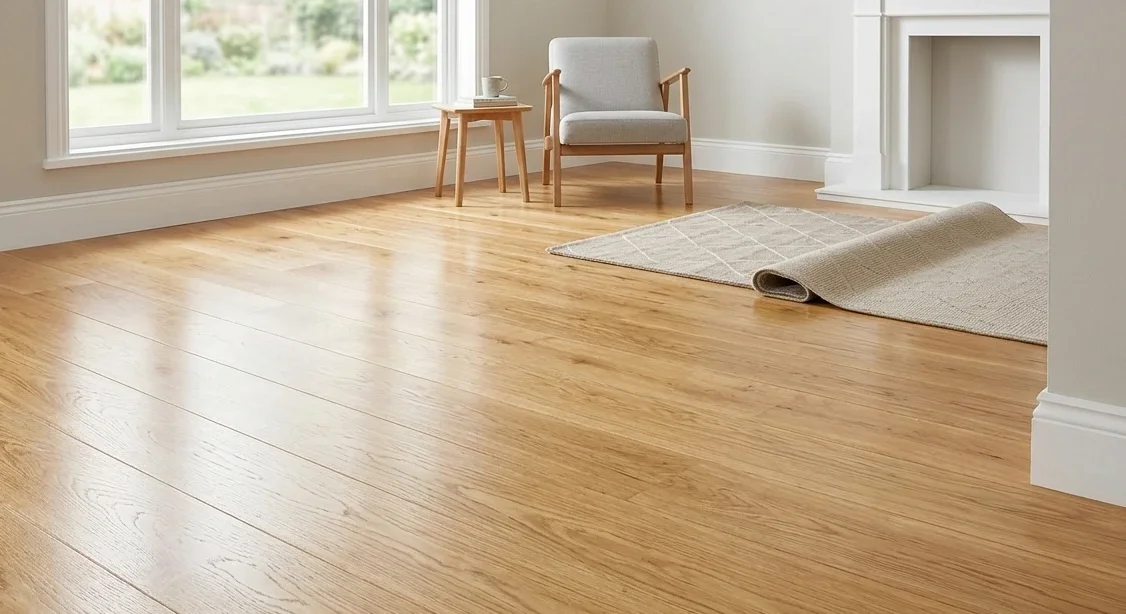
Best Rug Pads for Hardwood Floors — What Actually Protects Them and What Quietly Destroys Them
The rug pad under your area rug is doing either one of two things — protecting your hardwood floor or slowly damaging it. Most homeowners don't know which until they pull the rug up. Here's exactly what to use and what to never put under a rug on hardwood floors.

Why Refinishing Prefinished Hardwood Floors Is a Different Job — And a Harder One
That Bruce floor installed in 2004 is not the same job as refinishing original hardwood. Seven coats of urethane, four coats of aluminum oxide, and beveled edges between every board — here's why prefinished refinishing is harder, costs more, and requires a different approach.

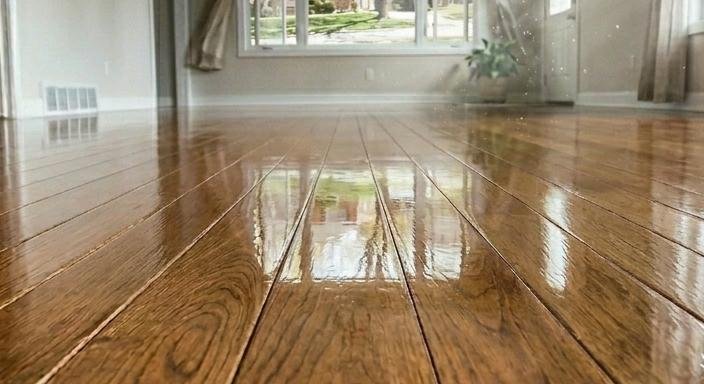
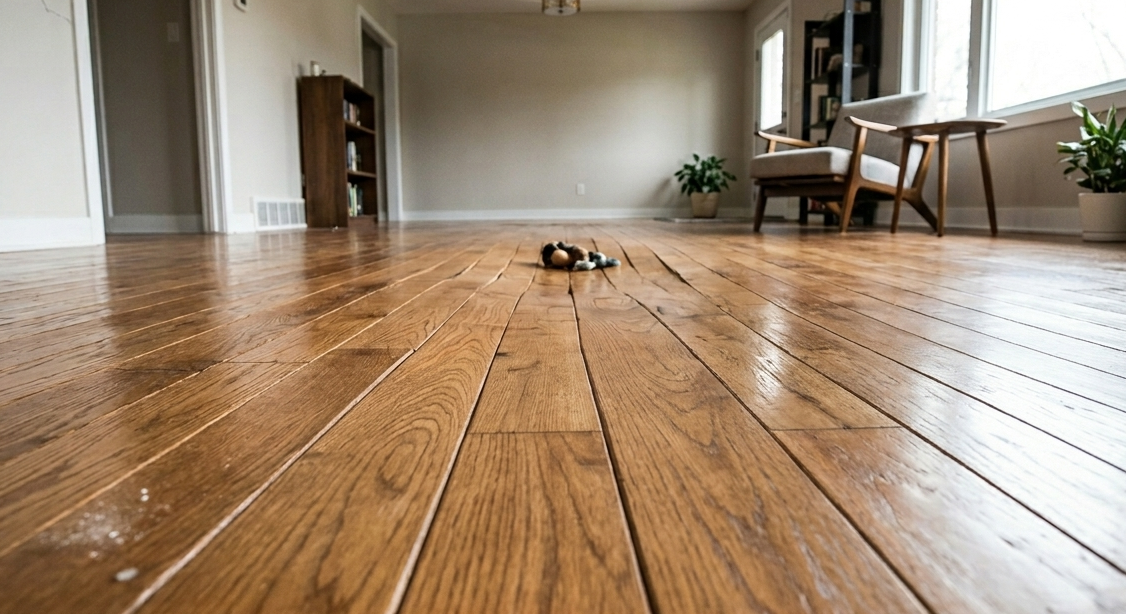
How Wide Plank Hardwood Floors Make a Small Room Look Bigger
Wide plank hardwood floors have a visual trick built into them — fewer seam lines mean less visual noise and more perceived space. Here's how plank width, installation direction, and finish work together to make any room feel larger than it is.
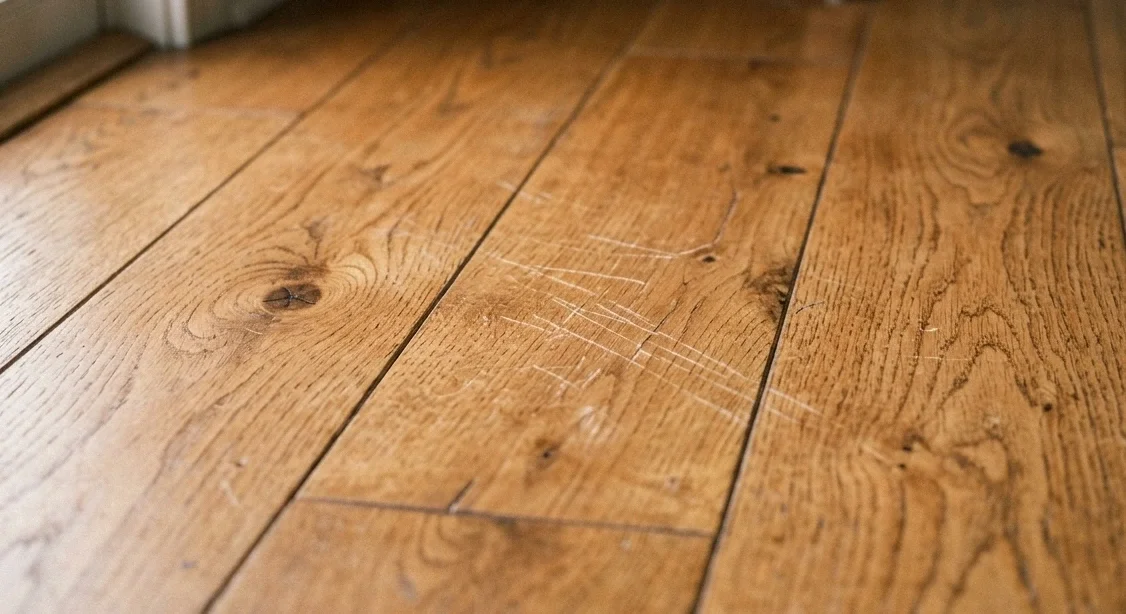
Prefinished Hardwood Floors Are Not Scratch Proof — Here's What Urethane Finish Can and Can't Do
Scratch resistant is not scratch proof. Every prefinished hardwood floor sold in every showroom in America has aluminum oxide in the finish coating — and every one of them will scratch. Here's what that actually means for Pennsylvania homeowners before you make a $12,000 decision.
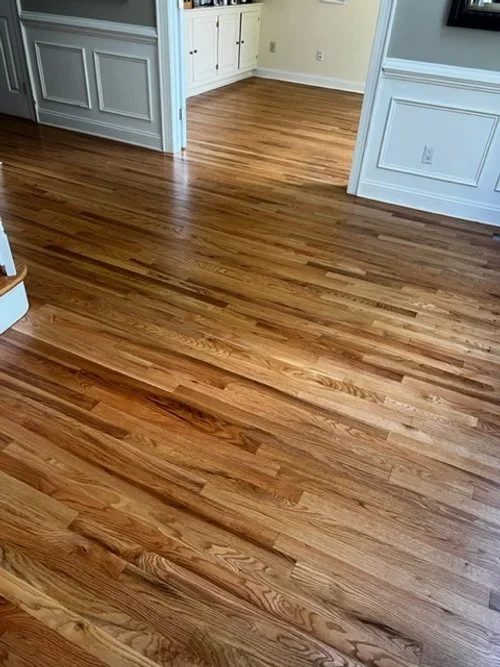
Hardwood Floor Stain Color Trends in 2026 — What Pennsylvania Homeowners Are Actually Choosing
Gray hardwood floors dominated for a decade. In 2026 warm natural tones, light oak finishes, and whitewashed looks are what homeowners throughout Bucks County and the Main Line are actually requesting. Here's what's trending, what's fading, and what holds value long term.
Why Engineered Hardwood Is Often the Better Choice for Wide Plank Floors in Pennsylvania
Wide plank hardwood is the most requested installation in the Philadelphia suburbs right now. Here's why engineered is often the smarter choice for 5-inch and wider planks in Pennsylvania's climate — and when solid still makes sense.

Do Hardwood Floors Actually Increase Home Value in Pennsylvania?
Hardwood floors consistently rank among the highest ROI updates in the Philadelphia suburbs. Here's what the numbers actually look like and what condition and species mean for your specific home.
The Complete Guide to Hardwood Floors in Pennsylvania — Everything You Need to Know Before You Install, Refinish, or Restore
Everything a Pennsylvania homeowner needs to know about hardwood floors in one place — species selection, solid vs engineered, installation, finish, refinishing, maintenance, and what to look for in a contractor. Twenty years of doing this in Bucks County, Montgomery County, and Chester County in one guide.
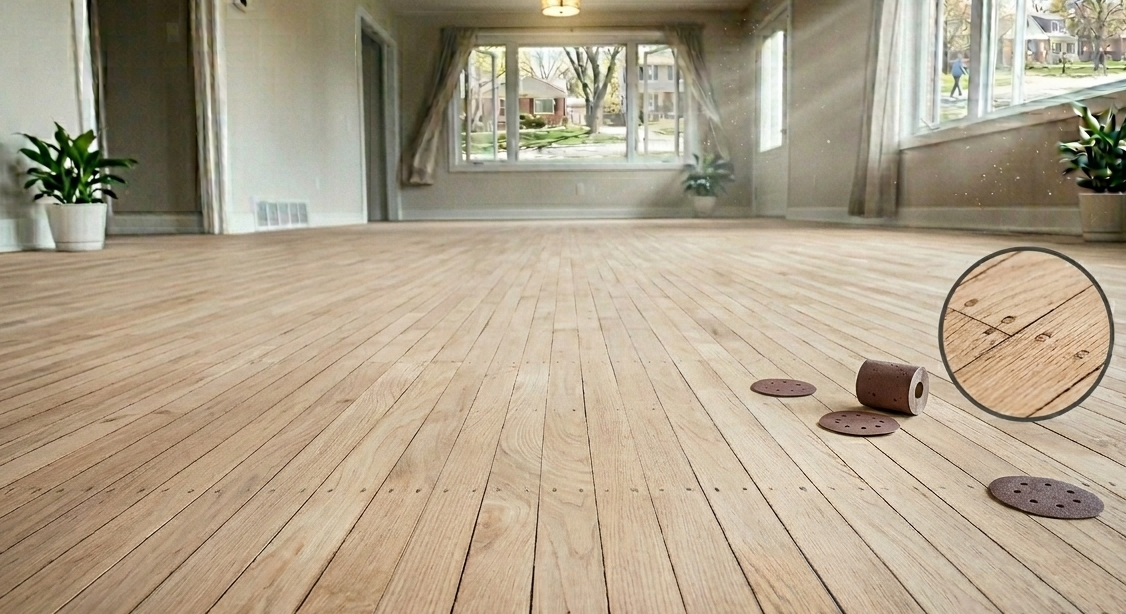
How Long Does Hardwood Floor Refinishing Last? A Contractor's Honest Answer
Everyone asks how long a refinish lasts. The honest answer is it depends — on your finish product, your traffic, your maintenance habits, and your species. A 20-year flooring contractor serving Bucks County, Montgomery County, and Philadelphia breaks it down with no fluff.
How to Prepare Your Home for Hardwood Floor Refinishing — The Complete Homeowner Checklist
Most hardwood floor refinishing problems aren't caused by bad technique — they're caused by bad preparation. Here's the complete homeowner checklist from a contractor who's been doing this in Bucks County, Montgomery County, and Philadelphia for over 20 years.
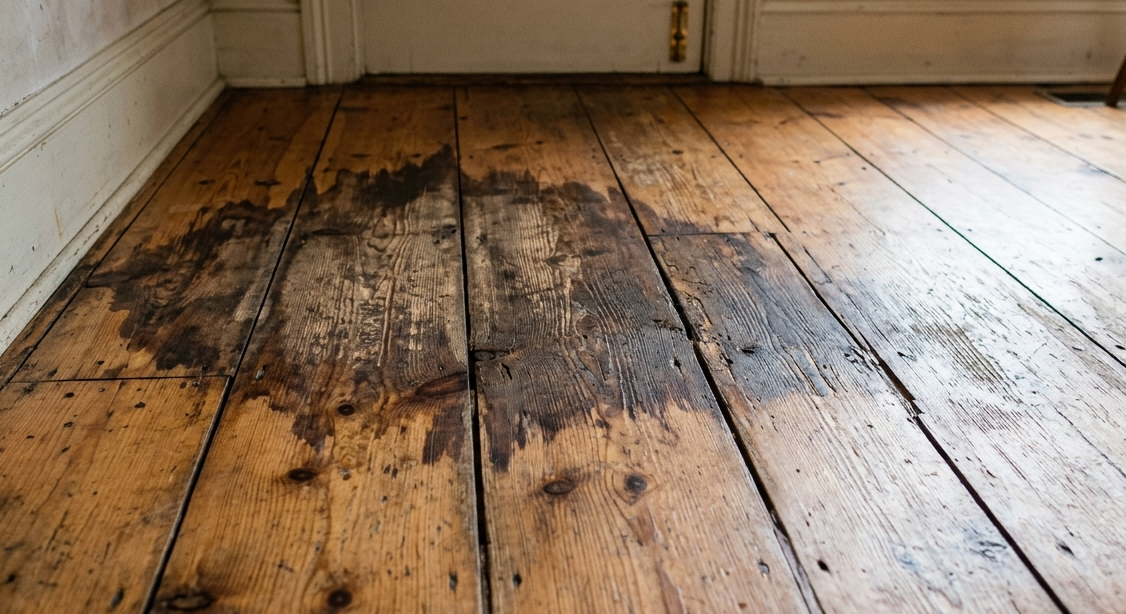
Pine Hardwood Floors: What Every Homeowner Needs to Know About Moisture, Staining, and Daily Wear
Pine floors are some of the most beautiful hardwood in the Philadelphia metro — and some of the most misunderstood. Here's what 20 years of refinishing them in Bucks County, Montgomery County, and Chester County has taught us about what damages them, what doesn't come out, and what every homeowner needs to know before it's too late.
Can You Refinish 5/16 Face-Nailed Hardwood Floors? What Homeowners Need to Know
Thinking about refinishing your 5/16" face-nailed hardwood floors? From managing visible nail heads to navigating thin wear layers, 5/16" top-nail flooring requires a specialized touch. Learn the essential considerations for sanding, filling, and finishing these classic Philadelphia area floors to ensure a beautiful result without compromising structural integrity.
Why Ventilation Is the Most Important Part of Any Hardwood Floor Refinishing Job
Refinishing your hardwood floors? The fumes are invisible but the risks are real. Cyclone Hardwood Floors breaks down why proper ventilation protects your family — and what we do differently on every job in Bucks County, Montgomery County, and Philadelphia.
Why Your "Bad Hardwood Floor" Is Actually a Subfloor Problem (And What It Takes to Fix It)
Hardwood floor gaps, squeaking, and bouncy boards are often blamed on poor installation, but the real culprit is usually beneath the surface. Sagging floor joists, uneven subfloors, and construction shortcuts from decades ago cause problems no quality flooring can overcome. After 20+ years working in Pennsylvania homes, we've seen hundreds of "flooring failures" that were actually structural issues. Learn how to identify joist sag, subfloor problems, and what it takes to fix them before installing hardwood.
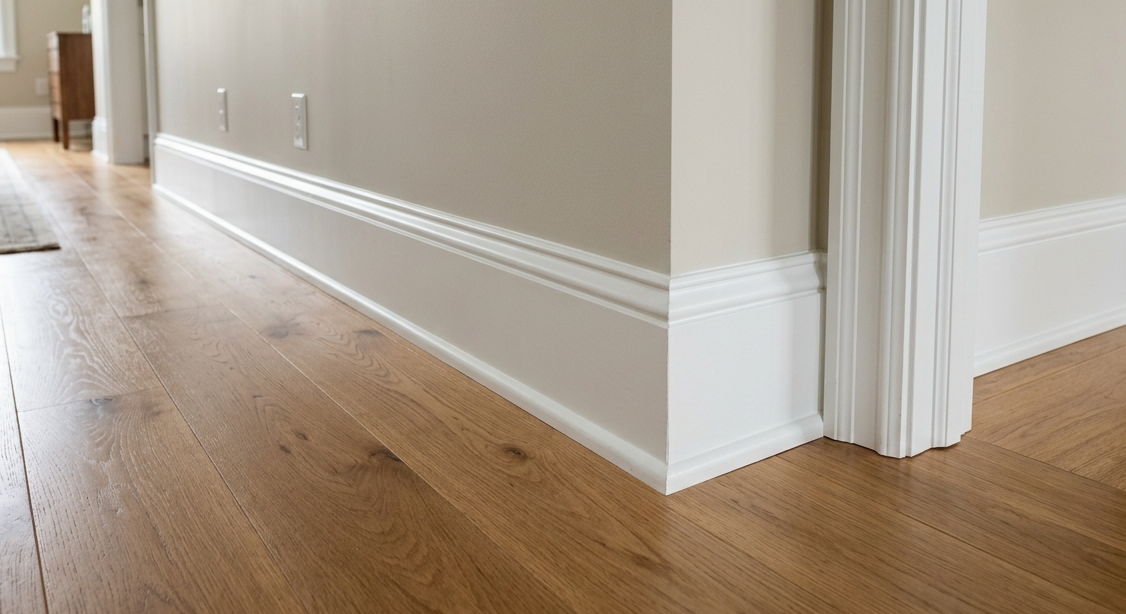
Why your homeowners need new baseboards when installing hardwood..
Installing 3/4" hardwood flooring raises floor height, making existing 3-4" baseboards too short to cover expansion gaps properly. Even when height isn't the issue, baseboards installed with nails, adhesive, caulk, and multiple paint coats don't remove cleanly—they crack, split, and chip, requiring extensive repair before reinstallation. After 20+ years installing hardwood throughout Pennsylvania, we've learned baseboard replacement costs $3-6 per linear foot but ensures professional finished appearance that reusing damaged baseboards can't achieve.
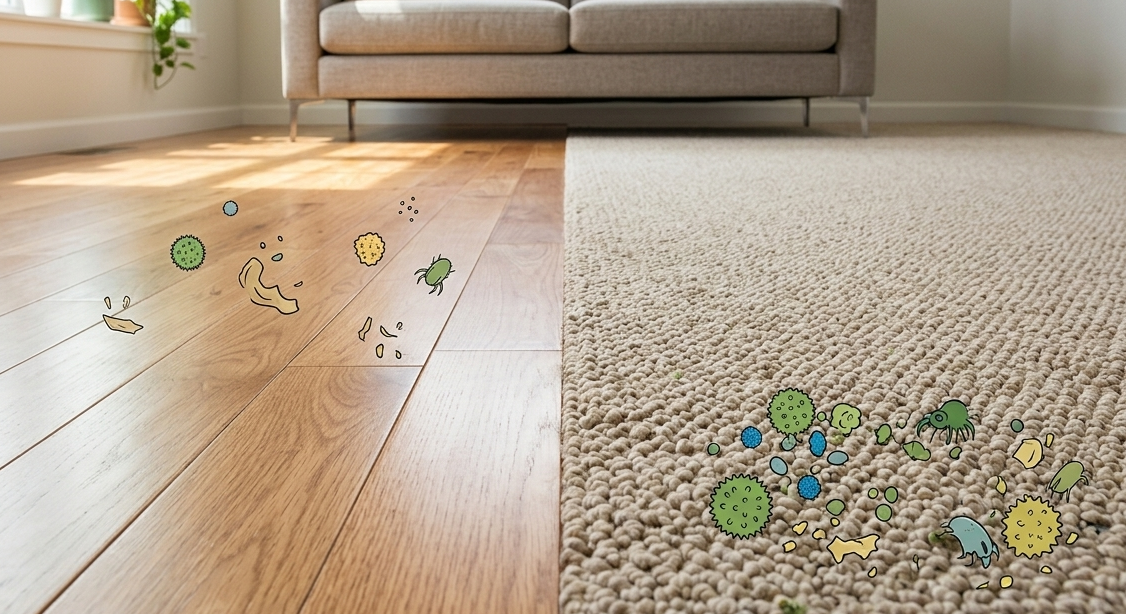
Why Hardwood Floors Are Dramatically Better for Allergies and Asthma Than Carpet
Carpet traps pollen, dust mites, pet dander, and mold spores deep in fibers where vacuuming can't reach them. Hardwood floors keep allergens on the surface where they're easily removed with sweeping or mopping. For Pennsylvania and New Jersey families dealing with allergies and asthma, switching from carpet to hardwood produces measurable health improvements. Allergists and pulmonologists consistently recommend hard flooring as part of comprehensive allergy treatment. Learn why hardwood is medically superior to carpet for allergen management.

The Hardwood Floor Finishes That Sell Homes Fast (And The Ones That Don't)
Not all hardwood floor finishes sell homes equally in Bucks and Montgomery Counties. Matte and satin sheens photograph better than high-gloss. Natural and light stains make spaces feel larger and appeal to more buyers in Wayne, Radnor, Newtown, and Doylestown markets. Wide plank flooring (5"+) conveys luxury. White oak outperforms red oak for resale. After 20+ years refinishing homes throughout Bucks and Montgomery Counties, we've seen which aesthetic choices move properties fast and which add weeks to market time.
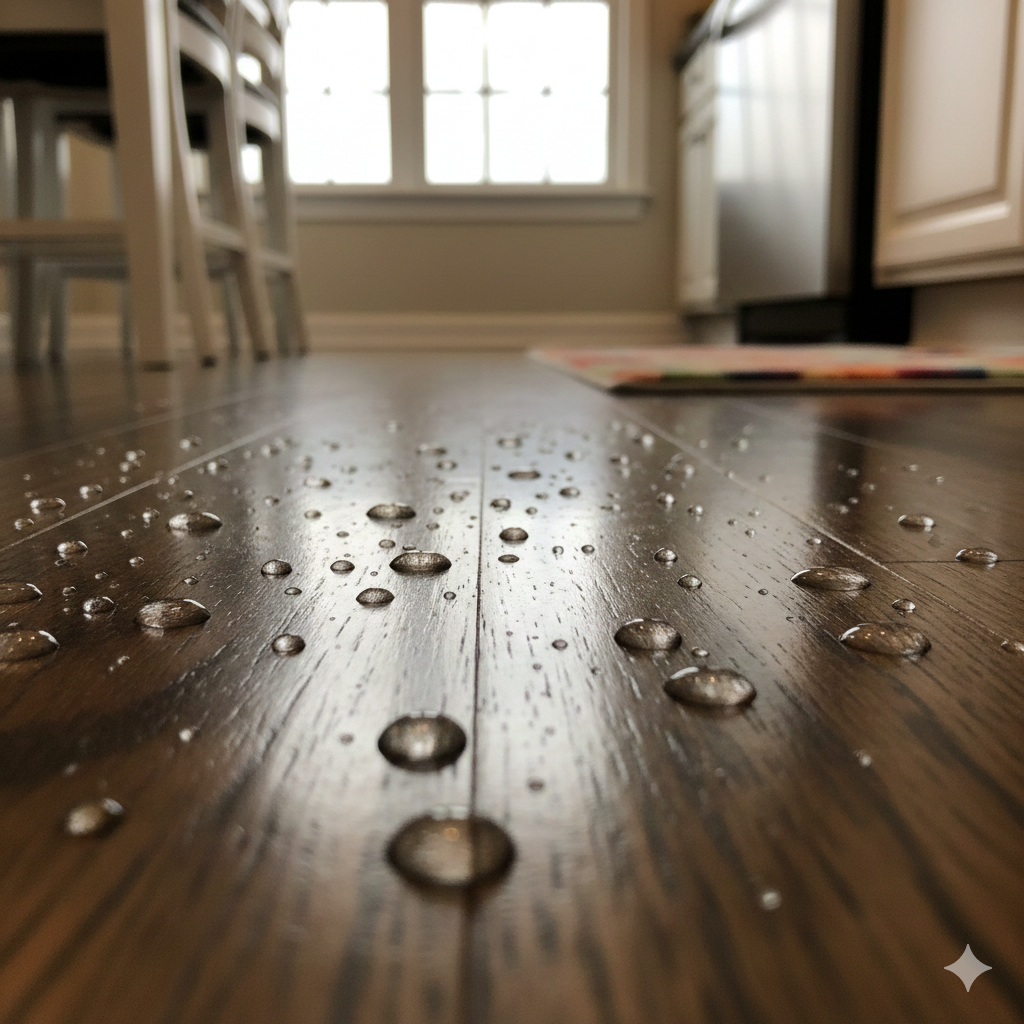
The Homeowner’s Guide to Kitchen Hardwood: Why Water is Your Floor’s Number One Enemy
Stop moisture from ruining your investment. Discover professional tips for sealing, maintenance, and water damage prevention for kitchen hardwood floors. Protect your home's value today.
When Is the Best Time to Install or Refinish Hardwood Floors? (And Why Most Contractors Won't Tell You the Truth)
Most contractors say hardwood can be installed year-round, but timing significantly affects cost, quality, and long-term performance. Spring and fall offer ideal conditions—moderate humidity, stable temperatures, and minimal seasonal wood movement. Summer requires extended acclimation and longer cure times due to high humidity. Winter demands strict environmental controls and moisture management. Learn how seasonal conditions impact hardwood installation and refinishing in Pennsylvania and New Jersey, and when to schedule your project for best results.
How Winter Weather Damages Hardwood Floors (And What You Can Do About It)
Pennsylvania and New Jersey winters are brutal on hardwood floors. Forced-air heating drops indoor humidity to 15-25%, causing wood to contract and gaps to form between planks. Road salt tracked indoors etches protective finishes, creating dull white spots that don't buff out. Wet boots leave standing water that seeps between planks, causing cupping and black water stains. Learn how winter weather damages hardwood, signs of winter floor damage, and proven strategies to protect your investment through the cold months.